| Custom BKA Upright Cabinets
First
up, sorry - we are terrible at recording the work we do - we plan to get
better at it, partly because we think it would be a nice touch for
customers to be able to refer to how their cab was made - but no
promises, as we have stated elswhere this isn't our primary job
(actually it's a hobby, and as such doesn't even come close to breaking
even) so time is typically not on our side.
I
will likely refer to words / terminology common in reference to
Arcade machines but you might not be familar with, please use this page
to provide further clarity.
--------------------------------------------------------------------------------------------------------------------------
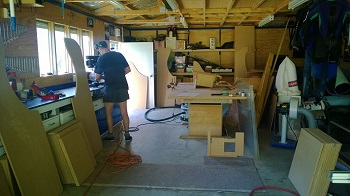
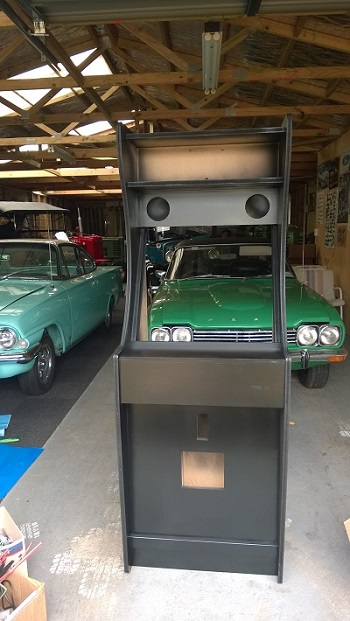
This Upright build occured in Feb 2014
We
needed to build 12x new Upright arcade cabinets and 2x Cabaret cabinets
- some of which are for home use, rest for rental or comercial sale.
The
process required developing plans for what we wanted to build, and then
developing a cutting plan so we could get the most material out of the 30x sheets (1220x2440x18 mm) of MDF purchased.
Arcade plans can be found here BKA Workshop:
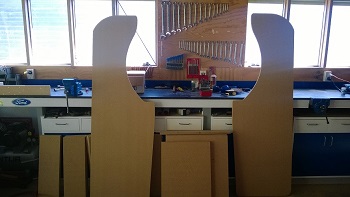
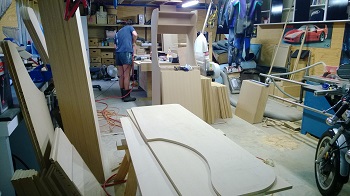
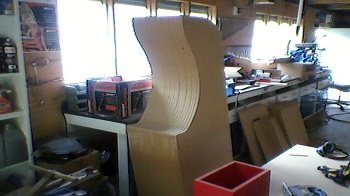
Creating the templates:
From
the plan create a side template - this won't even be used in a
cab, they are used as a pattern for the router and the drill hole (or
dowel) locations, this first one will be very manual, and require lots
of sanding / fiddling with to get the look "just right".
Once you are happy with the shape of the template, use it to create both sides.
- Draw around template on source sheet,
- Then jigsaw 5 to 8mm out from the line to remove waste,
- Then clamp template to side and route (using Router with straight flute bit) around using the template as the guide.
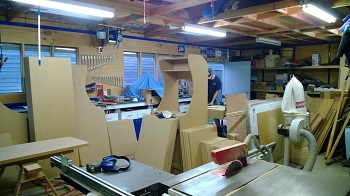
We
run through the complete build process for the first cab to test the
build process / This way we can make any alterations necessary
BEFORE cutting out everything and potentially wasting material.
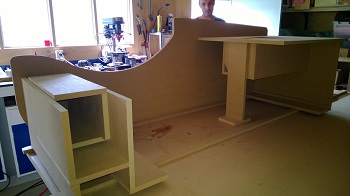
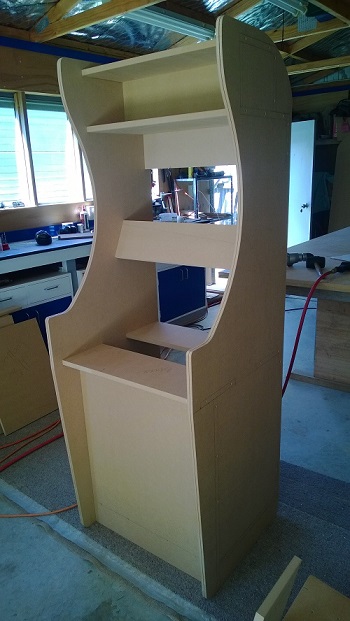
Building the first machine
We
first use the template on the first side to workout where all the drill
holes are - then use that template to pre-drill all sides from that
point. This also means the template can be reused over and over again - making sure to guarantee each side is completely consistent.
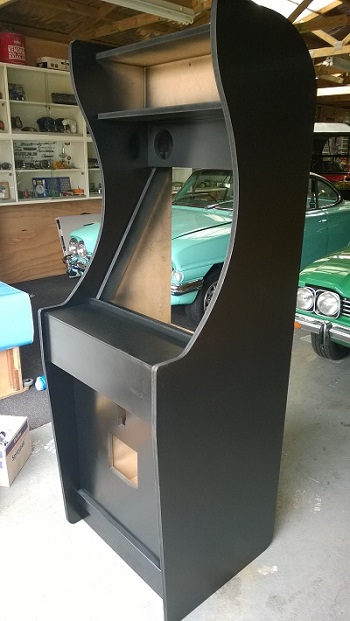
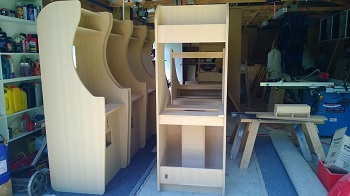
Now we finally start to assemble something
- Console unit (2x pieces)
- Marques unit (4x pieces)
- Kickplate, base and coin box (8x pieces plus reinforcing for wheels)
 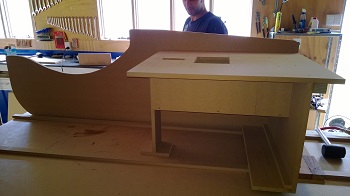
 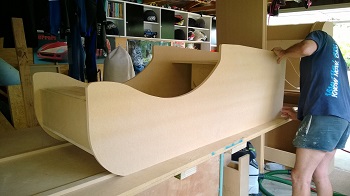
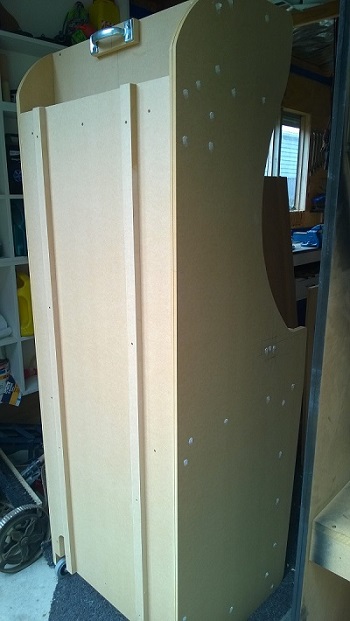
Then
we put the battens on the table (this is to bring the back up the depth
of the mdf (18mm) so as to allow for back door to be flush when added
at end of build)
- Placed first the Kickplate complete bottom
section on and built a jig to hold in correct place, then fastened
first side to it
- The did same with marque section - made jig to hold in correct place, fastened to side
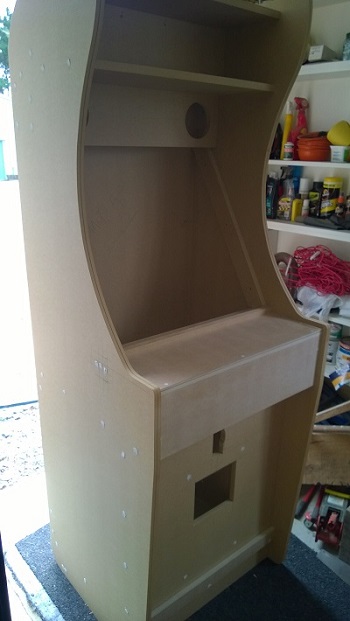
- Rotated cab (ideally should have worked on other side - but garage just
now to full to do that) and fastened other side to cab components
- then added other internal struts (console shelf, PCB shelf etc)
- Add console to cab
The jigs created will be used for assembling the remaining 11 cabs.
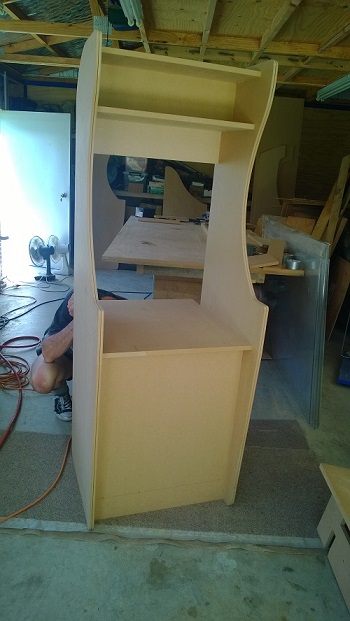 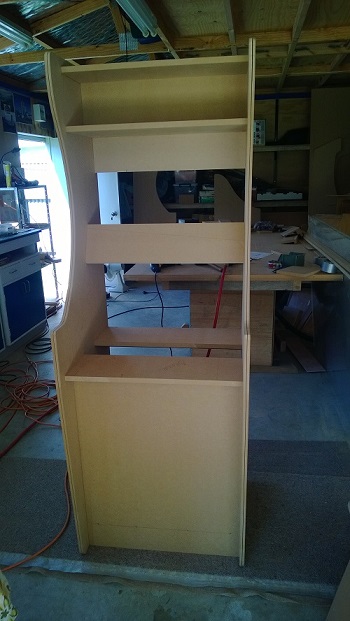
 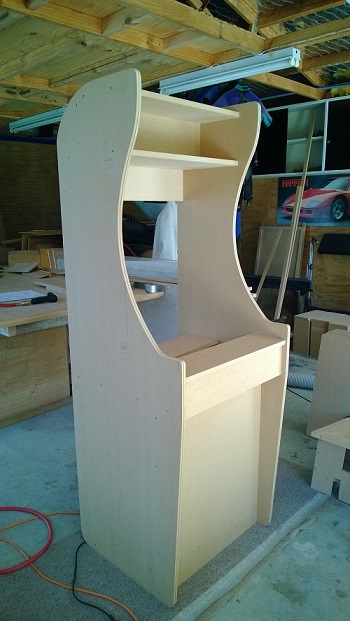
Filled
and Sanded 4 uprights, fitted backs and damage rails,
And then applied sealer (needed for MDF) and 3x top coats of satin black
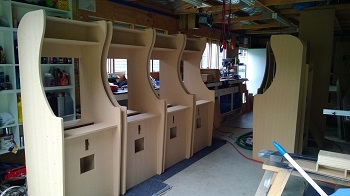
Mass production:
Now
that we have a successful complete build, we cut all the related
sections at the same time on the table saw - While this is a lot of
work, it means every piece is exactly the same width etc - so will come
togther seemlessly during the fitting process.
- We
cut all 25 full sheets at the same time (in half, including removing
waste) so everything is 600mm deep (all exactly the same) resulting in
50x 600x2440 sheets
- We cut all sides (24x 1800x600)
- We cut all the kick plates (12x 780x600) - leaving 12x 1655x600 sheets that we used for back doors and framing etc
- Cut
all related framing/console sections at same time (200x600
and 150x600) from the left-overs from the side sections etc
When
you're only doing a machine at a time - a hand router works fine,
especially for T-molding if not a bit slow, fiddly and you can easily
make mistakes .
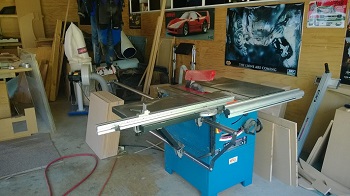
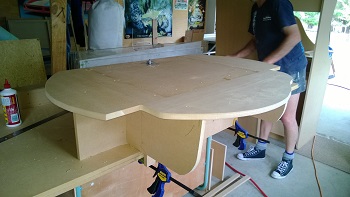
However
we often build several machines at a time - so we built a routing
table - pictured below, this massively speeds up the process
and accuracy - if you want to build a routing table refer here
We then used this to do the T-cuts on the sides and cab front pieces, this guarantees an excellent consistent finish.
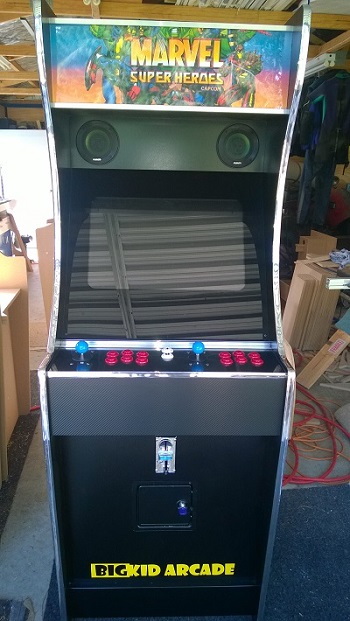
At this point we repeat all the build steps shown above x11 - it takes a long time.
From here we are only going to follow one cab through the rest of the process
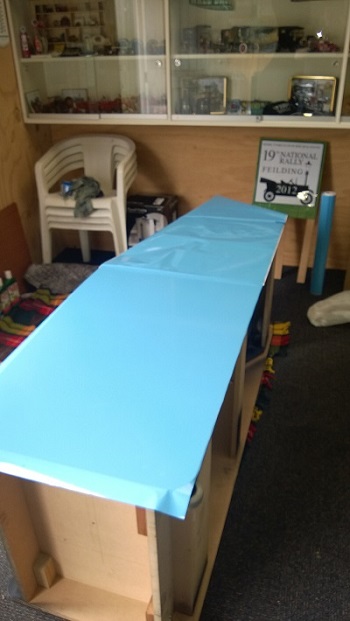
First
we apply the vinyl carefully to sides, working from one end to the
other so as to remove any chance of air bubles being traped under the
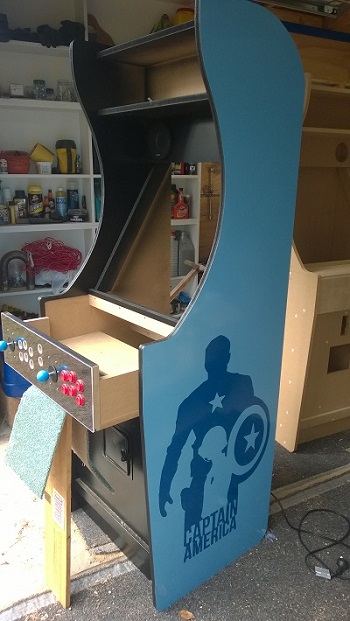
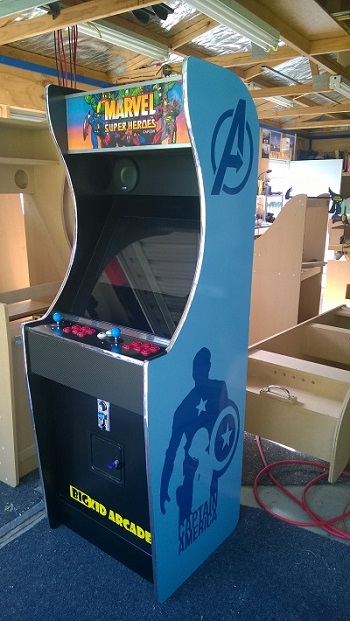
vinyl, and then trim the edges with a very sharp modellers knife.

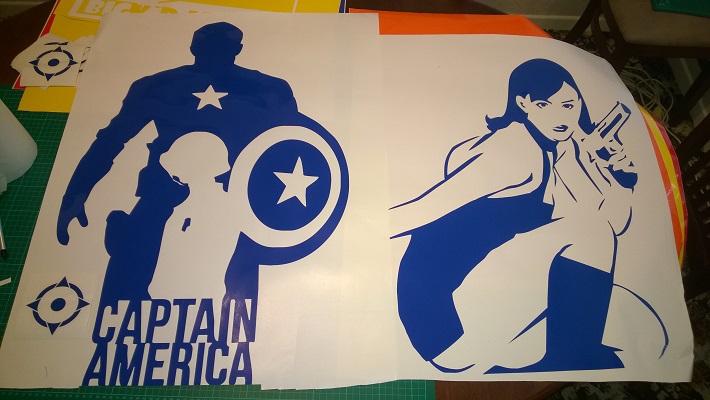
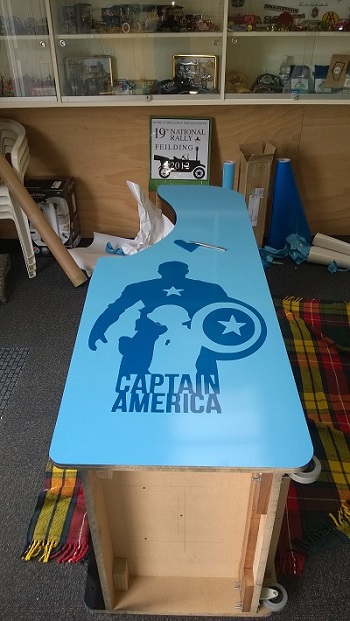
As Marvel's Captain America - Winter's Soldier movie is due out soon we have gone for a Marvel's Avenger's theme for this cab.
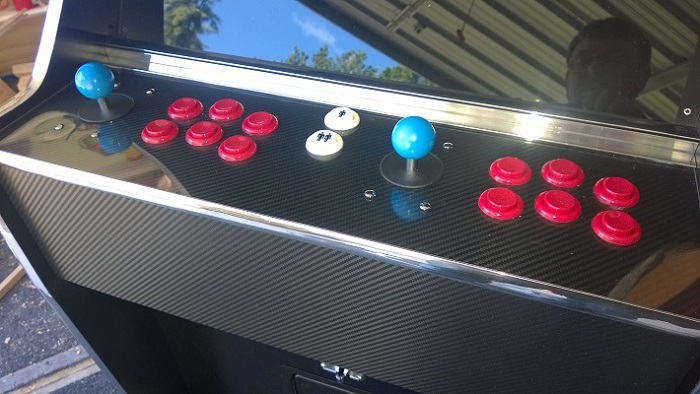
Once the sides are done, we apply the CP with vinyl base / art and add buttons and joysticks - refer to the How-to-Build-a-CP section for these steps.
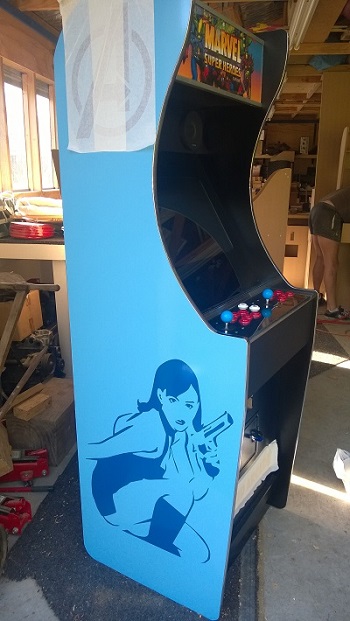
Added Avengers logo to top sides of cab
 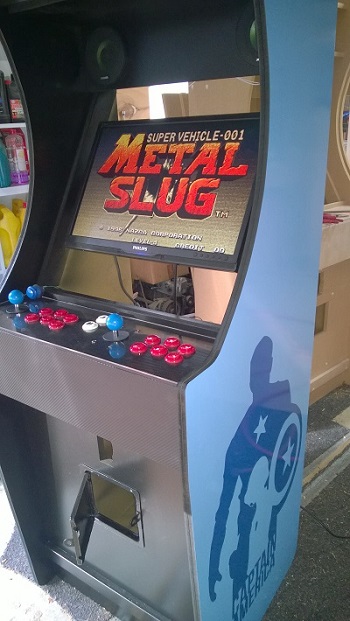
Install
22" LCD monitor, sound amplifier and speakers, Game PCB, then wire up
and test buttons / joystick etc work ...and maybe sneak in a
quick game or two (all legitimate testing of course)
Then back paint bezel with black paint [spray can], and mount
Install Marque and marque lights (LED strip), wire up and configure coin mech (multi-coin).
... and then a full 2 player testing process begins, before shipping to customer.
<<< Previous Page | Next Page >>> |